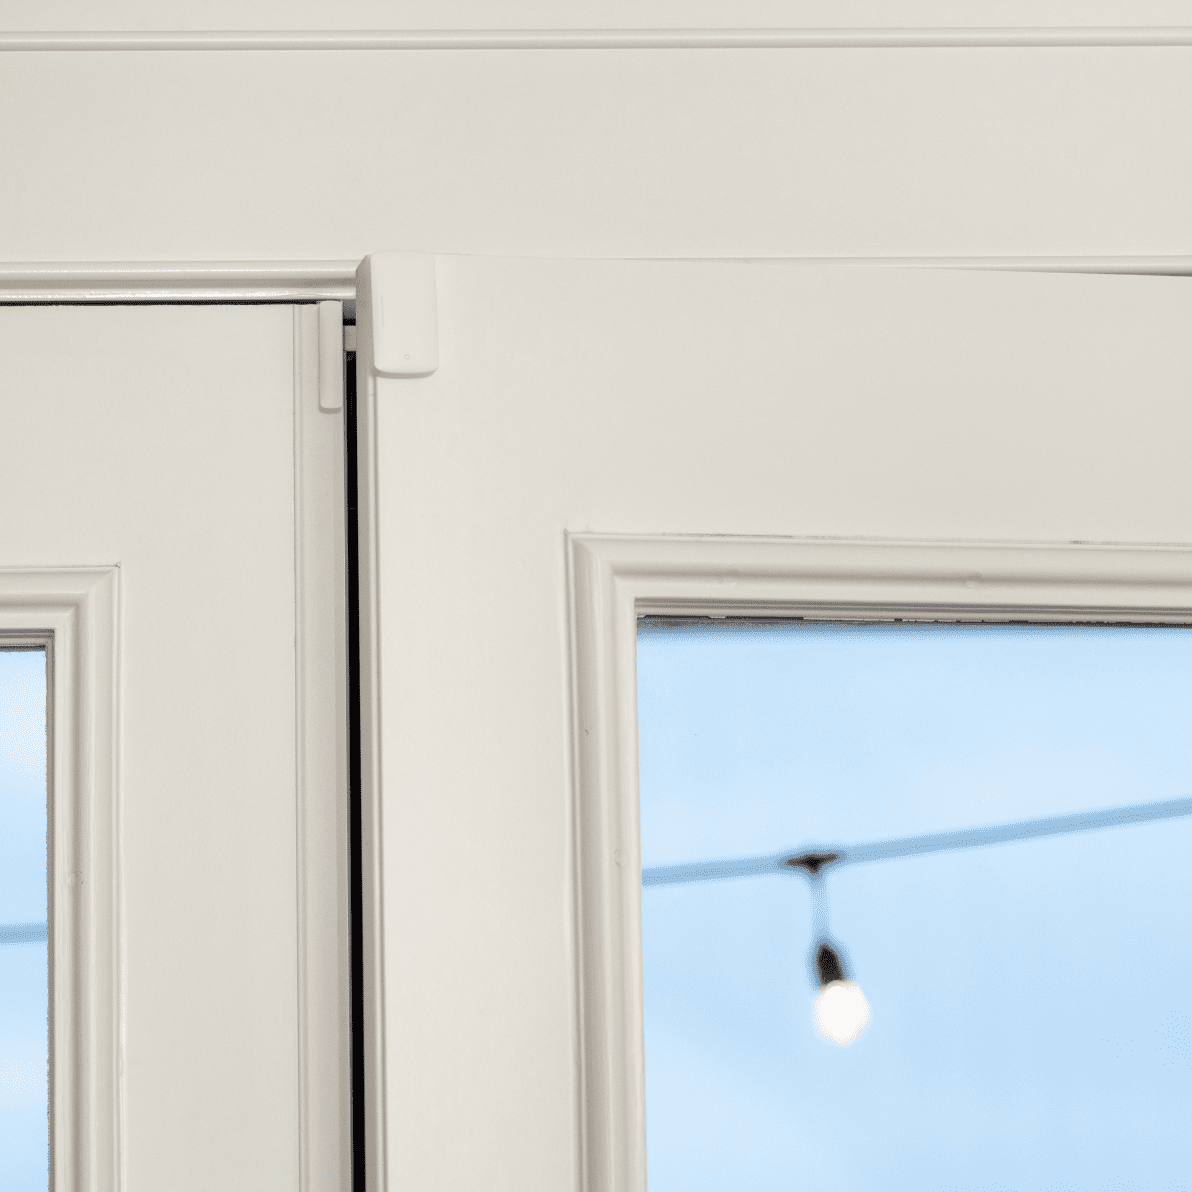
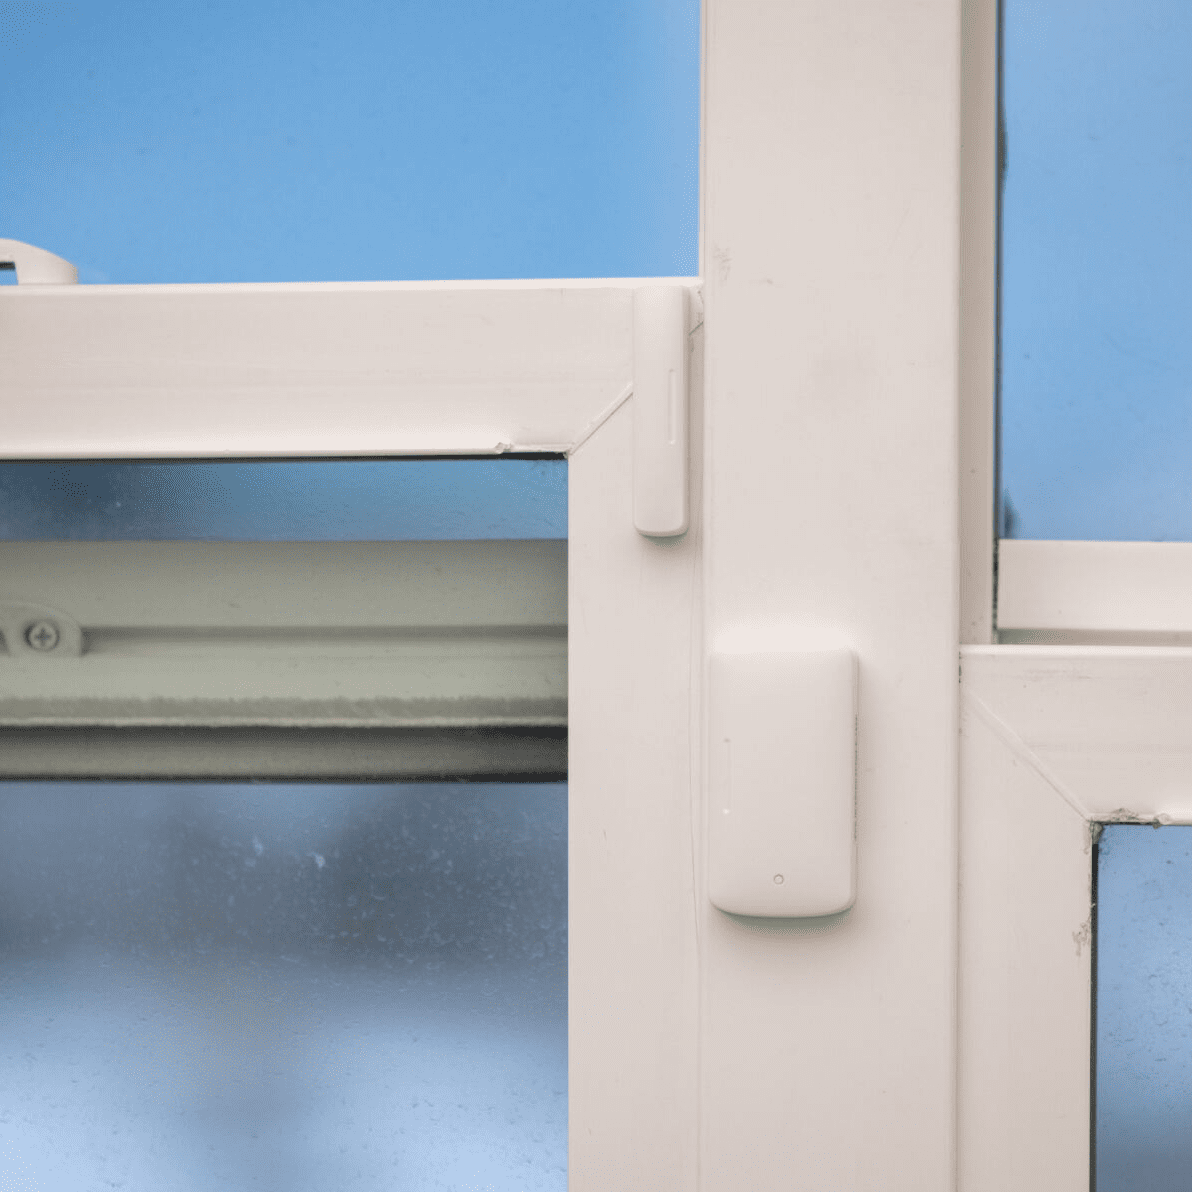
The Napco Prima PWD wireless encrypted door/window contact is an integral component of the Napco Prima security system, designed to enhance the safety and security of residential and commercial properties. It is engineered to provide reliable monitoring of entry points, such as doors and windows, ensuring that any unauthorized access is promptly detected and reported. Its wireless design allows for easy installation without the need for extensive wiring, making it a convenient choice for both new installations and retrofitting existing security systems.
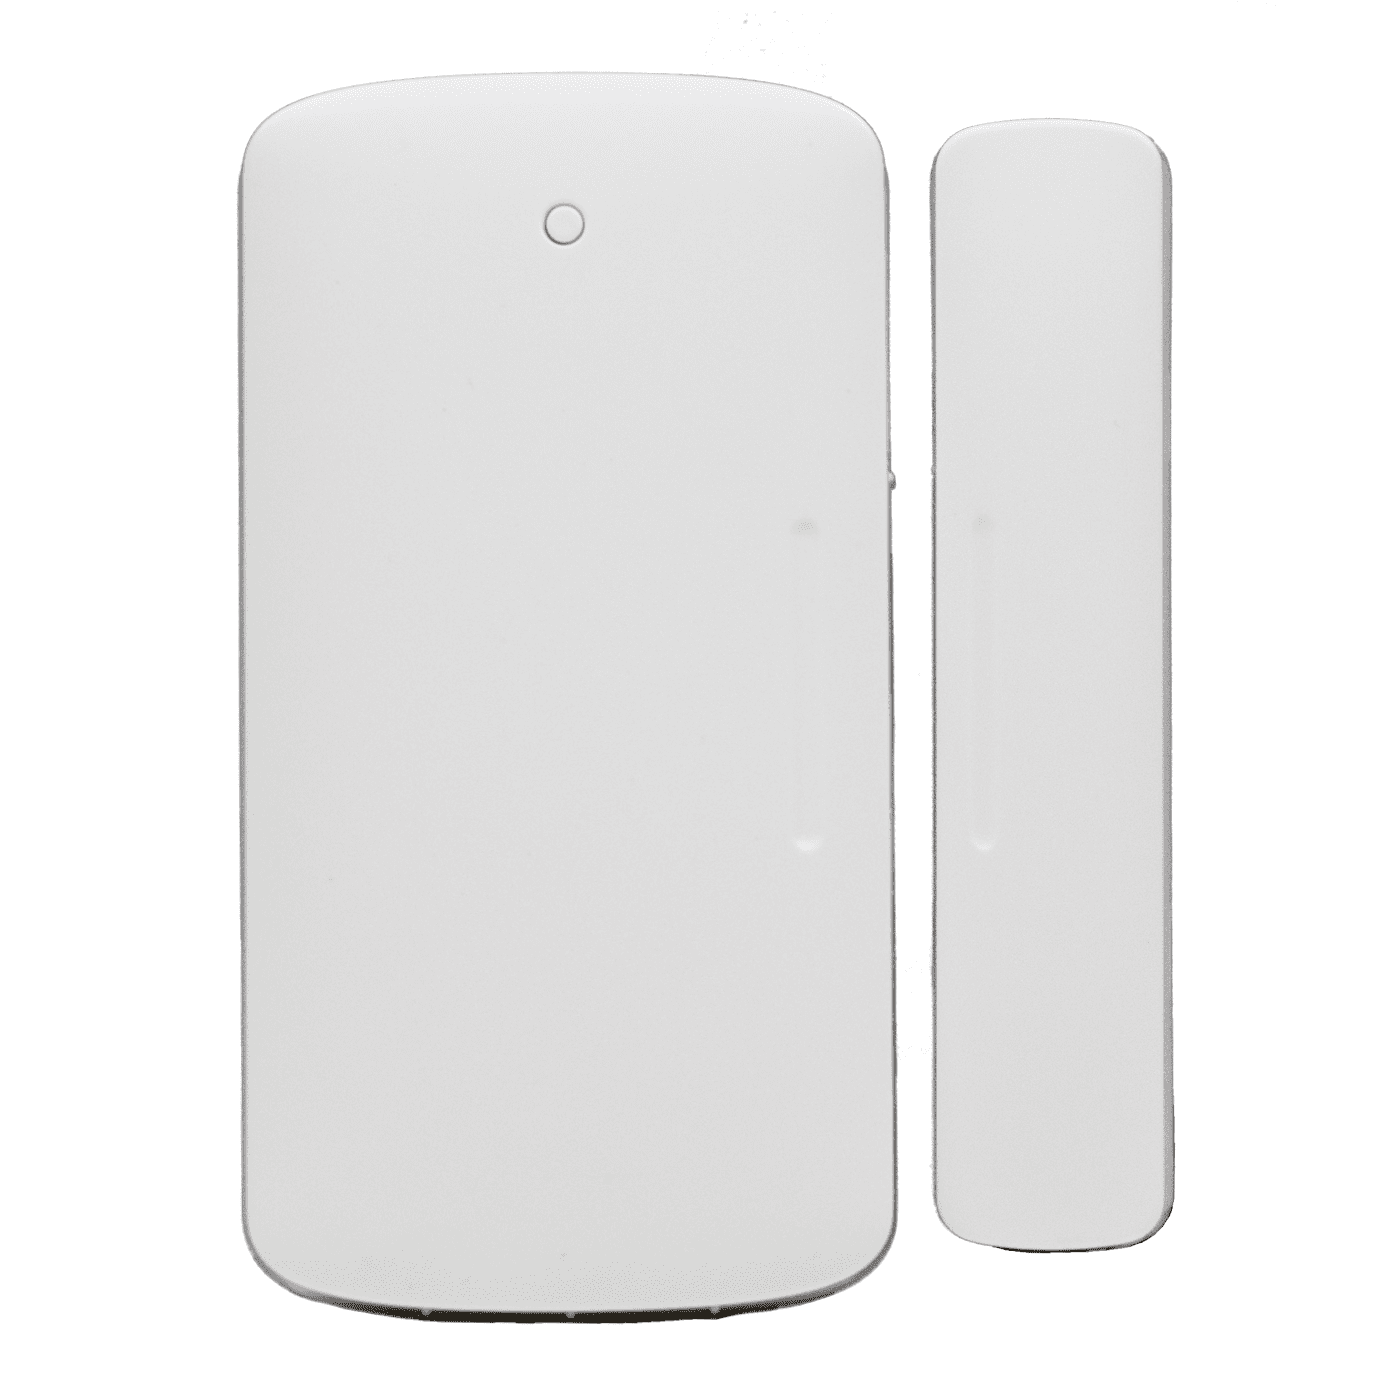
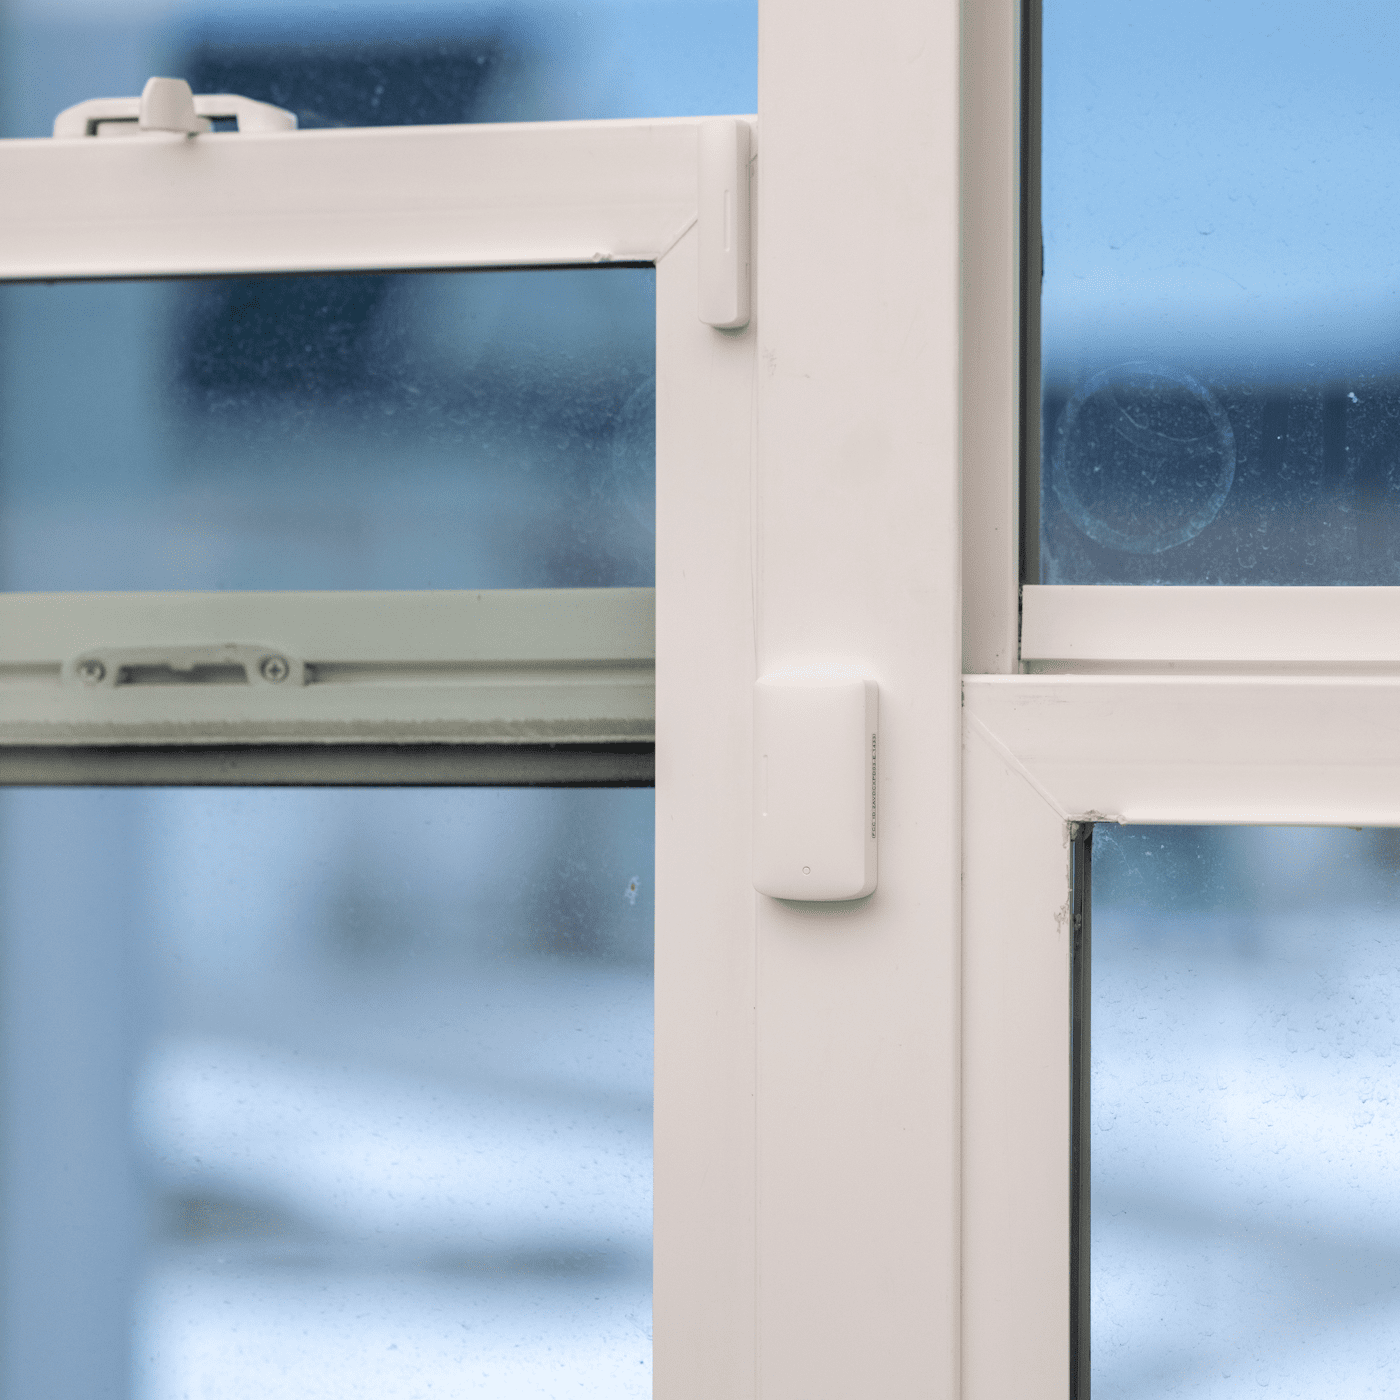
The PWD contact with magnetic sensor is designed to fit seamlessly alongside a door frame or windowsill. When the door or window are opened more than 0.25 inch from each other, the PWD magnetic contact becomes disrupted. When disrupted, the PWD sensor will then transmit an alarm notification to the Napco Prima control panel (PP1A/PP1V), end-user, and/or GeoArm central monitoring station informing everyone selected of an alarm initiating event.
One of the standout features of the Napco Prima PWD is its use of advanced encryption technology. This ensures that the signals transmitted between the contact and the main security system are secure and resistant to interception or tampering. This level of security is crucial in maintaining the integrity of the overall system, providing peace of mind to users who rely on it to protect their property. The device is also designed to be energy-efficient, with a long-lasting battery life that minimizes the need for frequent maintenance.
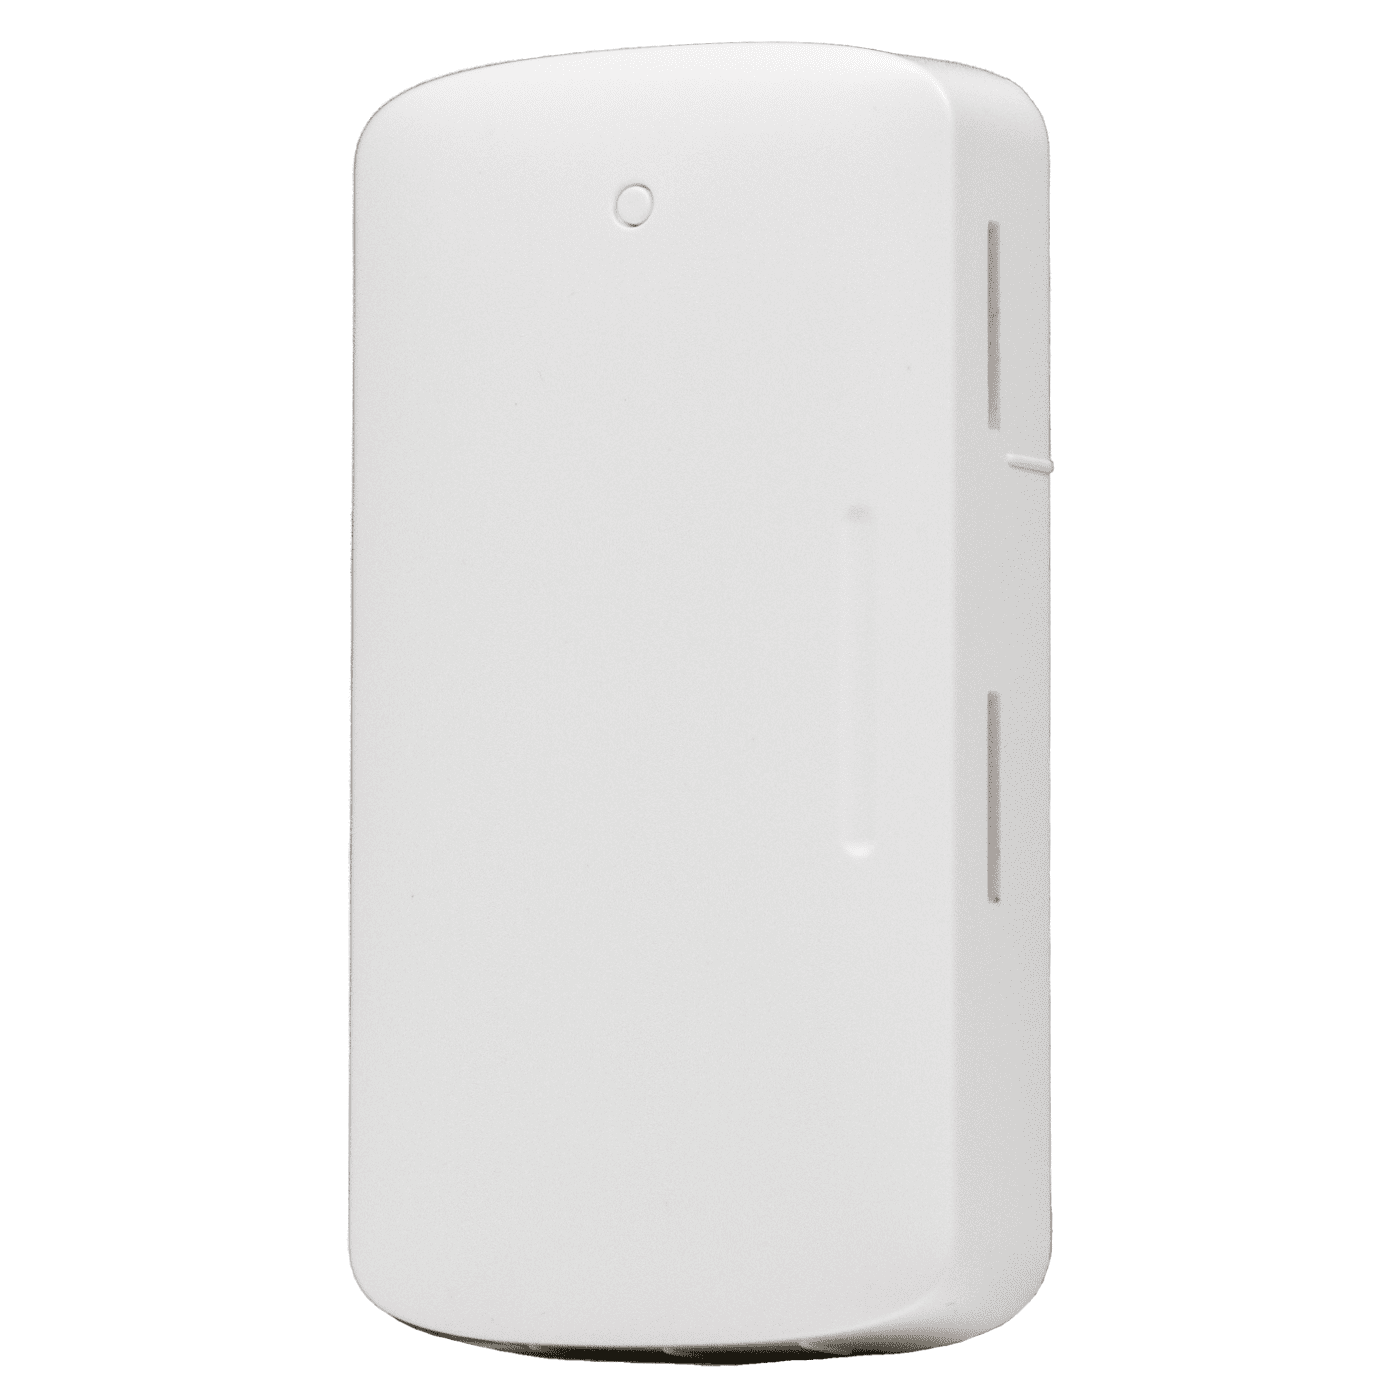
Compatibility with the Napco Prima security system means that the PWD Wireless Encrypted Door/Window Contact seamlessly integrates with other components, such as motion detectors, control panels, and alarm systems. This integration allows for a comprehensive security solution that can be customized to meet the specific needs of any property. Additionally, the device's sleek and unobtrusive design ensures that it blends seamlessly with the aesthetics of any home or business, providing security without compromising on style.
Product Features:
433 MHz Window/Door Transmitter
Easy-Alignment Markings
Long Range up to 820' Open Air
1-Way Encryption
Tamper Supervised
Long Battery Life (Up to 7 years)
Includes 2ea CR2032 Lithium Coin Cell Battery
Self-Stick Tape and/or optional screws for mounting
The Napco PWD door/window sensor can be installed using the provided adhesive or screws.
Mounting Orientation:
The sensor and magnet should be placed near the top of the door with the sensor attached to the unmoving part of the closure. For example, attach the main body of the sensor to the door frame, not the door. We recommend that the sensor is placed in the top corner of the opening of the door.
The sensors and magnet each have a slightly engraved line. This line denotes where the sensors align to function properly. If the sensor and magnet, when together/closed, do not line up correctly, the sensor will not report correctly.
To install the door/window sensor:
1. Select the desired position for the sensor and magnet. The sensor and magnet must be within 0.25 inch of each other on final installation. Verify that the sensor and magnet are aligned correctly.
2. Remove the sensor's battery pull tab.
3. Adhere the sensor to the wall using the provided screws and/or adhesive. We recommend using the provided screws for installation. This method is more secure than using adhesive.
Using Screws
a. Locate the bottom of the sensor (the slotted short end).
b. Turn the sensor over, and then gently slide a fingernail/fingertip into the slot pushing the sensor's back plate up and away from the sensor body. (You can see the FCC label on the inside of the back plate.)
c. Remove the adhesive film cover. (Optional)
d. Place the back plate against the door frame/windowsill, making sure that the orientation is correct for the desired position. Take note, once the adhesive is secure the sensor cannot be moved. (Optional)
e. Mark the screw hole locations, then using a power drill, drill holes and install the 2 provided wall anchors.
f. Insert the first screw into the non-breakaway screw hole, and then use a screwdriver to partially secure the screw in the wall. Do not fully insert the screw until the second screw has secured the sensor position.
g. Insert a second screw into the breakaway screw hole, and then partially secure in the wall.
h. Obsert the sensor position. When satisified with the position, use a screwdriver to fully secure each screw in the wall.
i. Press the front of the sensor against the base, until there is an audible snap.
Using Adhesive
a. Select the desired position for the sensor.
b. Peel one side of the adhesive tape, and then press the tape firmly against the sensor. Take note, once the adhesive is secure, the sensor cannot be moved.
c. Peel the other side of the adhesive, and then press the sensor against the wall.
4. Line the magnet up with the sensor, verifying that they align properly, and then adhere the sensor to the wall using the provided screws or adhesive.
Using Screws
a. Locate the bottom of the magnet (the slotted short end).
b. Turn the magnet over, and then gently slide a fingernail/fingertip into the slot pushing the magnet's back plate up and away from the magnet body.
c. Remove the adhesive's film cover (Optional), and then place the back plate against the door/window, making sure that the orientation and alignment are correct for the desired position. Take note, once the adhesive is secure, the magnet cannot be moved.
d. Mark the screw hole locations, then using a power drill, drill holes and install the 2 provided wall anchors.
e. Insert the first screw into a screw hole, and then use a screwdriver to partially secure the screw in the wall.
f. Insert a second screw into the remaining hole, and then partially secure in the wall.
g. Observe the magnet position. When satisfied with position, use a screwdriver to fully secure each screw in the wall.
h. Press the front of the magnet against the base, until there is an audible snap.
Using Adhesive
a. Select the desired position for the magnet.
b. Peel one side of the adhesive tape, and then press the tape firmly against the magnet. Take note, once the adhesive is secure, the magnet cannot be moved.
c. Peel the other side of the adhesive, and then press the magnet against the wall.
5. Add the sensor to the panel.
6. Once added, test the sensor. Verify that when the door/window is opened that the panel notes that the sensors is faulted. Take note, testing all sensors with the GeoArm alarm monitoring station is strongly advised.
The Napco PWD door/window sensor requires a CR2032 battery. Once the battery is low, the Napco Prima panel displays a low battery icon next to the sensor in the devices list. The battery must be replaced within 7 days of the first low battery notification. If the battery is not replaced within 7 days, the sensor may not function properly.
To Replace the Battery:
1. Locate the bottom of the sensor (the slotted short end).
2. Gently slide a fingernail/fingertip into the slot and pull the sensor cover out and away from the sensor's base.
3. The sensor containing the battery and circuit board is no longer attached to the door/window. Locate the tab holding the circuit board in the sensor.
4. Press and hold the tab away from the circuit board, and then turn the sensor over. The circuit board comes free from the sensor shell.
5. Use a fingernail/fingertip to push the battery out of the casing, noting the polarity of the battery.
6. Slide a new CR2032 battery into the battery casing, making sure that the polarity is correct.
7. Press the circuit board back into the sensor casing until secure. There will be an audible snap.
8. Press the sensor back onto the base.
9. Test the sensor.
Warning: If an incompatible replacement battery is used, or the battery is installed incorrectly explosion or damages may occur.