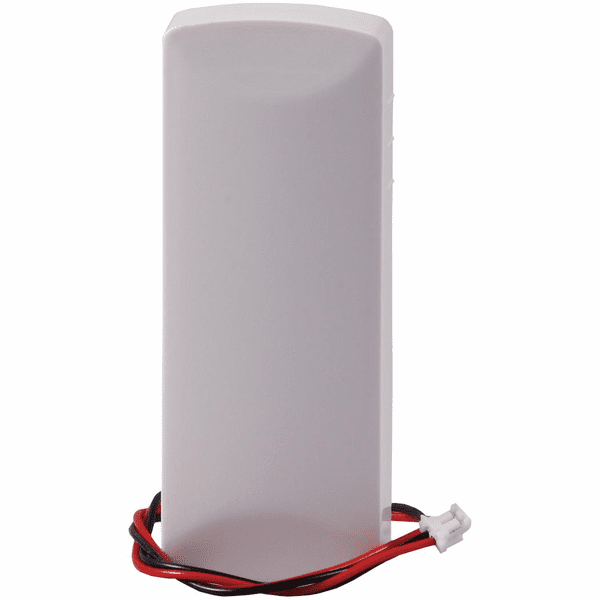
Please Note: The GE Interlogix TX-E231 wireless door/window alarm sensor with external contact input has been discontinued without replacement.
The GE Interlogix TX-E231 is a wireless door/window contact with external contact input, that is designed to be used with an GE Interlogix control panel or receiver. The TX-E231 is a compact, low profile sensor that provides intrusion detection for application in homes and small businesses. This sensor allows flexibility in installation with the use of an external hardwired contact, which can be used in areas where the sensor cannot be mounted near the magnet.
With both white and brown covers the TX-E Series Door/Window Sensor with External Contact Input can easily be installed on doors, windows, cabinets or other items that can be opened and closed. This sensor also contains a replaceable lithium battery that lasts up to five years under normal usage.
Product Features:
- Field proven wireless technology
- Snap on, interchangeable covers (white and brown)
- Case tamper
- Wall tamper
- External contact input
- Wall mountable bracket
- Replaceable battery with up to 5 years of battery life (based on usage)
- 2 year warranty
- Sensor Dimensions (WxHxD): 2.62 x 1.0 x 0.31 in. (6.65 x 2.54 x 0.787 cm)
- Magnet Dimensions (WxHxD): 1.37 x 0.5 x 0.25 in. (3.47 x 1.27 x 0.635 cm)
- Color: White and Brown cases
- Compatibility: GE Interlogix Learn-Mode panels and receivers
- Magnet Type: N48 rare earth
- Magnet Gap: 0.625 in. maximum (5/8 in.)
- Operating Temperature: 32°-120°F (0°-49°C)
- Operating Humidity: 5-95% RH non condensing
- Supervisory Signal Interval: 60 min (approximately)
- Weight: 1.2 oz.
- Frequency: 319.5MHz (Crystal based)
- External Contact Input: Normally Closed
- Battery: 3V lithium CR2032 (225 mAh)
- Battery Life: 5 years, typical
- Approvals: FCC/IC
One side of the sensor is marked with 3 lines; this indicates the location of the reed switch. The magnet should be mounted facing this side of the sensor, and it must be no further than 5/8" (15.875mm) from the sensor. Included with this device is double sided tape for the contact and the magnet. Choose a suitable location for the sensor by following the procedure in the section "Testing the Sensor" ensuring desired signal strength is achieved. For reliable bonding, ensure the surface is clean and dry. Apply the tape to the sensor and then to the desired location. Apply firm pressure for several seconds.
Note: When mounting with double sided tape, ensure temperatures are above 50°F and will remain above 50°F for at least 24 hours to ensure proper bond. After 24 hours, the bond will hold at lower temperatures.
In addition, a mounting back plate with screws is provided. Simply screw the back plate onto the mounting surface and snap the sensor onto the mounting plate. To remove the sensor from the mounting plate, first remove the cover. At the bottom of the sensor (closest to the battery) a small tab will be visible. Use a small flat head screwdriver to press the plastic tab towards the wall, and then slide the sensor up.
Note: Do not use the tape to secure the mounting plate to the wall. Where possible, install sensors within 100 ft. (30 m) of the panel. While a transmitter may have an open-air range of 500 ft. (150 m) or more, the environment at the installation site may have a significant effect on operational range. Changing a sensor location may improve wireless communication.


